In this article, we are going to learn how we can insert & edit Page Numbers in Microsoft Visio. As if you have a long drawing in Microsoft Visio then you have to insert a Page Number so that you can go directly from one page to another if you want to go.


As we can see that there is a long list of Borders and titles in Microsoft Visio. You can go with anyone of them.

As we can see that our page number is selected now we can change the color of the text and change the font as well.


After selecting the Page Number we can see that our page number is applied on the right side on the bottom as we can see in the following screenshot.

In this way, we can insert page numbers in Microsoft Visio and edit them as well.

As we know, page numbers could be used to automatically number each page in our document, whether you are working in Microsoft Visio or any other software. They come in a wide range of numbers formats we can customize to suit your needs.
Page Numbers are mostly placed in the header, footer, or margin as well. In my honest opinion, we mostly use page numbers on the left-hand side at the bottom of the page in Microsoft Visio.
If we talk about the rule the page number in a book is open on the right-hand side ( in general we call the right-hand side page Recto) and start as pages (1,3,5,7, etc). Also if we talk about the left-hand side (known as the Verso) should always have an even page number (2,4,6,8, etc).
Table of Content
There are two ways to insert and edit Page Numbers in Microsoft Visio.
- Border & Title
- File Menu
Border & Title
In this method, you can insert your Page Number with the help of Border & Title in Microsoft Visio.
Go to the Design Tabe > Background Group > Border & Title.
If you have any drawings then you have to click on the Border and Title then automatically Border and title will be added to your drawing.
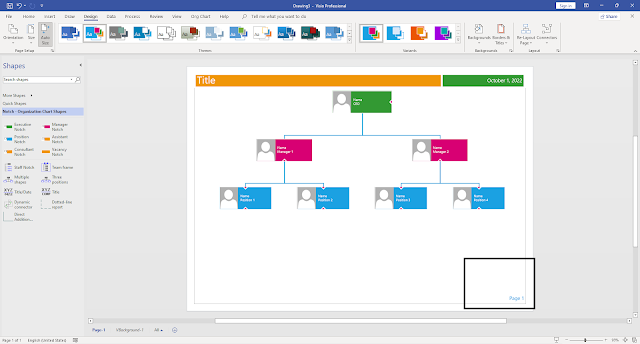
In the Border and title, there will be the title, date, and page number will be added in it as you can see in the following screenshot.

As we can see that there is a long list of Borders and titles in Microsoft Visio. You can go with anyone of them.
After applying one of them we see that the border and tile are inserted in this article we are mostly dealing with the inserting and editing page numbers in Microsoft Visio.

If you want to edit your page number then on the bottom we can see that there is Page 1 and Background then you have to click on the background then you will go to the background.
In the background, you will see that the drawing that you have inserted in Microsoft Visio is invisible. As we can see in the following screenshot.


After changing it we will move to Page 1 then we will see that all changes will apply to our page number.

As we can see that I have only applied the black color to the font as you can see in the above screenshot. In this way, we can insert and edit our page number in Microsoft Visio.
File Menu
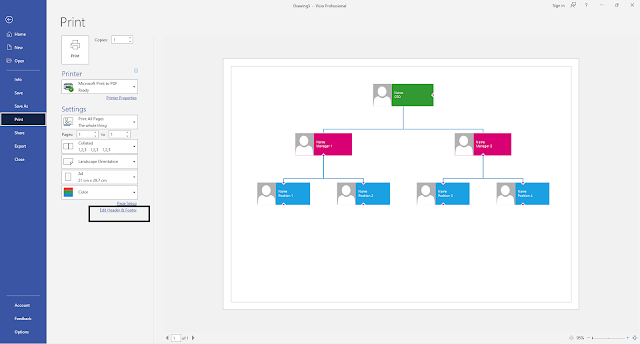
In this method, we have to go to the File Menu > Print > Setting > Header & Footer.

After selecting the Header and Footer.

After selecting the Page Number we can see that our page number is applied on the right side on the bottom as we can see in the following screenshot.

In this way, we can insert page numbers in Microsoft Visio and edit them as well.
Comments
Post a Comment
If you require any help related to Microsoft Visio 2019 then let me know. I am available 24/7 to assist you. It's my pleasure to solve your issue.