In this article, we are going to insert a tangent line in Visio. As we know we have already discussed the straight line in Visio as well as the importance of the tangent line is the same as the straight line in Visio.

As we can see that there is a tangent line inserted between the circle in Visio.
Let's Get Started:
For inserting tangent lines we have to first draw circles on each other. We have to open Microsoft Visio then find out the basic shapes as we have already done this work many times.
For now, I am just opening basic shapes then going ahead without any beginning process. I think now our audient is able to do everything related to the shapes pane and stencils in Visio.

As we can see that our Visio is open with basic shape stencils in the attached screenshot.
Now we have to select the circle shape from the shape stencils then click and drop it on the page then we can increase the size of the circle as well as decrease the size of the circle.
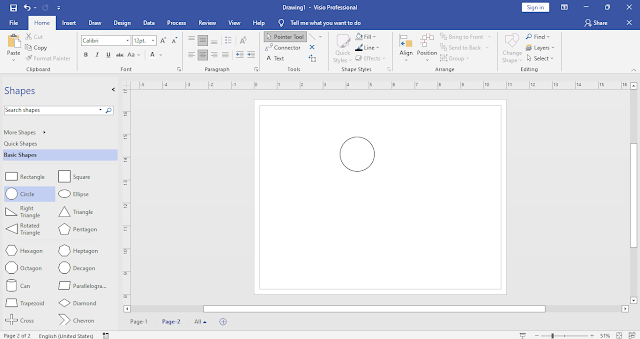
As we can see that the circle is inserted and how we have to format this circle in Visio as well as we have to increase the size of the circle. As we can see that the circle is not selected at this moment.

When we select the circle then handles appear on the top, bottom, right, and left. Then we can select any hand then we will drag it on the outside then the circle size will increase. If we will go to the inside then the circle size will decrease and vice versa.
Now, Also I am going to apply gray color to the circle.

I have to insert another circle below this then I will insert the tangent line so that we can learn how we can insert the tangent line in Visio which is also our main purpose.
After inserting another circle then we are almost ready to insert the tangent line in Visio.

Now, we have to select the "Connector" tool then our cursor will change from normal condition to the connection. If we have already selected the connector tool then we have to connect the elements to each other then we will select the first object and then the next object.
After selecting the connector tool then select from the first object than the second object. As we can see in the following screenshot.

Similarly on the other side.

If we insert another circle in the bigger circle then connect a small circle to the other circle then we will insert the tangent line then we will see what our tangent line looks like.

That's pretty amazing. Finally, we have learned how we can insert the tangent line in Visio.
Comments
Post a Comment
If you require any help related to Microsoft Visio 2019 then let me know. I am available 24/7 to assist you. It's my pleasure to solve your issue.